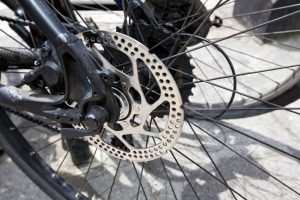
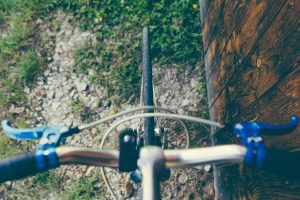
At Outspokin, we see a lot of different service jobs. However, cyclists know that some are more common than others, and not all of them need us to solve! Here are some of the more common bike repairs – and how you may be able to solve them at home or on the road!
Improper Shifting
If your chain is skipping a lot and isn’t shifting, there might be too much lube on your chain. Lubricant can attract grime and gunking up the works, and it is possible to over-lubricate y our chains. When your chain needs some oil, apply one drop of lube onto each roller as you turn the cranks backward for two or three rotations. You’ll need to clean off, rinse, and dry your chain – a bike degreaser is great, but dish soap, a toothbrush, and a little hard work can do the trick, too. Then, add the right amount of lubricant.
Flat Tires
The flat tire is one of the banes of every cyclist’s existence. If there is an issue with the tire pressure, check before looking for holes. First, find the tire’s air pressure range (this is usually printed on the smooth side of the tire, not on the treads) and use a bike pump with a built-in tire pressure gauge to bring your inflation to the right level. Avoid powerful motorized pumps or those at  gas stations – they can blow out your tires!
If the tires start sagging as soon as you’ve inflated them, look for punctures. Start by taking out the inner tube, lifting it out over the valve, and inspect it for a hole. If you spot a piece of glass, wood, or rock sticking out of the tire, it’s probably your culprit. Patch up the hole and stick the tire edge back into the rim.
If you need a new inner tube, inflate it about halfway to give it some shape. Sliding the inner tube into the outer tire and use your thumbs to stick the tire edge back into the rim. Re-inflate the tire to the recommended pressure.
Wrapping Drop Handlebars
If you take your road bike to its limits during the warmer weather, you know how your handlebars can get: worn, stinky, and sticky. At the end of the season, peel off the old tape from your drop  handlebars (use scissors if it gets stuck) and stick two pieces of tape under both brake levers to fill in the potential gap between the brake apparatus and the handlebar.
Next, take your tape and, starting on the bottom of the dropped end of the handlebar, wrap up and over the top of the handlebar tightly and smoothly, overlapping the edges as you go. When you get to the brake levers, flip the plastic covers up and wrap them carefully around the handlebar; the pieces of tape already there ensure no gap will form. When one side is covered in tape to the center of the handlebars, cut and secure the edge by wrapping it once or twice around with a small strip of electrical tape.
Seized Seatposts
Seat posts can bond quite well with the bike frame; however, you may not want this to happen! You can work to prevent a bond from forming by keeping the post greased at the point where it enters the frame. Squirt a small amount of penetrating oil or lubricant around the seatpost, or remove the bottom bracket, turn the bike upside down, and squirt the oil in from the bottom. Let it sit overnight, then stand over the bike and twist the saddle.
Bonds are a problem when the materials are different – for example, an aluminum post and a carbon frame. Use a light coat of penetrating oil or anti-seize lubricant to form a barrier between the aluminum post and a carbon frame.
Bottom Bracket Creaking
 One common and unfortunate bike problem is a creak in your bottom bracket. To repair this, you need special tools like a bottom bracket press; even then, there’s not a lot you can do even if you do have the tools. Creaking bottom brackets are an ordinary wear-and-tear issue, and to avoid the problems, have this part maintained with every cycle servicing.
Often the bottom bracket isn’t the part that’s creaking, which is good news for you. The cause is most often a loose bolt on the chainring (or chain wheel, the component of the crankset that moves the chains and the wheels). Tighten it up – you may find that the noise is gone. If you still hear a noise, check the nuts and bolts around the pedals, crank bolts, seatpost, and seat.
What Bike Repair Tools Should You Have On Hand?
Every cyclist should have a toolkit – carrying it if possible – so that they can handle any breakdowns or necessary adjustments. A basic kit includes:
- Bike tire pump with a built-in pressure gauge
- Spare inner tubes
- Tire levers
- Patch kit
- Torque and regular wrenches
- Chain tool and a few extra links
- Lubricant

